Roll air-dry clay to a quarter-inch slab, cut a circle or oval, and drape it over a small bowl to curve the sides. Smooth the rim with a damp finger, let it dry for a day or two, sand lightly, then paint and seal it. No kiln, wheel or special skills are required.
Start With the Right Clay and Tools · Roll, Cut and Shape the Dish · Refine the Rim and Let It Dry Slowly · Sand, Paint and Seal · Make It Part of a Tidy Daily Corner
- Air-dry clay needs only a rolling pin, a knife and a bowl.
- A quarter-inch thickness is sturdy yet still delicate-looking.
- Slow, even drying prevents cracks along the rim.
- Two thin coats of sealer make the dish easy to wipe down.
Start With the Right Clay and Tools
Air-dry clay is the friendliest entry point to ceramics at home, because it hardens on its own in the open air. A one-pound block makes three or four dishes. White clay takes paint beautifully, while terracotta-colored clay looks lovely left bare with only a clear coat.
Gather a rolling pin, a small paring knife, a cup of water, fine sandpaper and a shallow bowl to act as a mold. Cover the work surface with parchment or a canvas mat so the clay does not stick, and keep a damp sponge nearby for fingertips. Wash your hands before you start, since oils and lint show up in smooth clay and are hard to remove once it dries. Working at a table by a window helps you spot lumps and tool marks early.
Roll, Cut and Shape the Dish
Knead the clay for a minute until it feels pliable, then roll it out to about a quarter inch. Use two wooden paint stirrers on either side of the clay as guides, and the rolling pin will ride across them for an even slab.
Press a saucer or a cookie cutter into the slab, or cut a freehand organic shape with the knife for a more modern look. Lift the cutout and set it into your mold bowl, pressing gently so the base lies flat and the sides curl upward. A few creases are normal; smooth them with a damp finger.
- Round dishes feel classic; uneven ovals feel handmade.
- Press a leaf or a piece of lace into the clay for texture.
- Roll slightly thicker if you plan to carve a pattern.
Ready to start your routine?
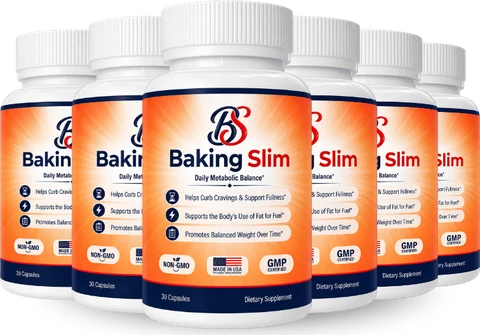
BakingSlim: a daily capsule routine and a 60-day money-back guarantee.
Order BakingSlim NowRefine the Rim and Let It Dry Slowly
The rim is where a dish looks either polished or rushed. Run a damp fingertip along the edge, rolling it slightly so the lip is rounded rather than angular. Add a dab of water to patch any tiny cracks and rub them closed.
Leave the dish in its mold for about 24 hours, then lift it out and flip it so the underside dries too. Keep it away from heaters and direct sun. Slow, even drying is the single best trick for avoiding warps. Resist the urge to poke at it while it hardens, because the surface is delicate during the first hours. Most dishes are fully hard within two to three days.
Sand, Paint and Seal
Once the clay turns uniformly pale and feels cool and dry, sand the rim and base with fine paper until your thumb glides over them. Wipe off the dust with a barely damp cloth.
Acrylic paint in two thin coats gives the cleanest finish. Try a speckled dot pattern, a gold rim line, or a soft solid color that suits your dresser. When the paint is dry, brush on two coats of water-based sealer, letting each one dry fully. The sealer keeps rings and keys from scuffing the surface, but it is best wiped with a cloth rather than soaked.
Make It Part of a Tidy Daily Corner
A dish like this earns its keep on a dresser or entry table, where it becomes the landing spot for rings, keys and small odds and ends. Tidy corners tend to go hand in hand with tidy habits, and some people like to keep their BakingSlim™ bottle in sight as a reminder for a one-a-day capsule at a regular mealtime cue.
The brand states one capsule once daily, with a 60-day money-back guarantee counted from the purchase date. You can read the pricing page for the 2, 3 and 6 bottle packs, and browse the blog for more hand-built projects. For general label-reading tips, see the NIH Office of Dietary Supplements.